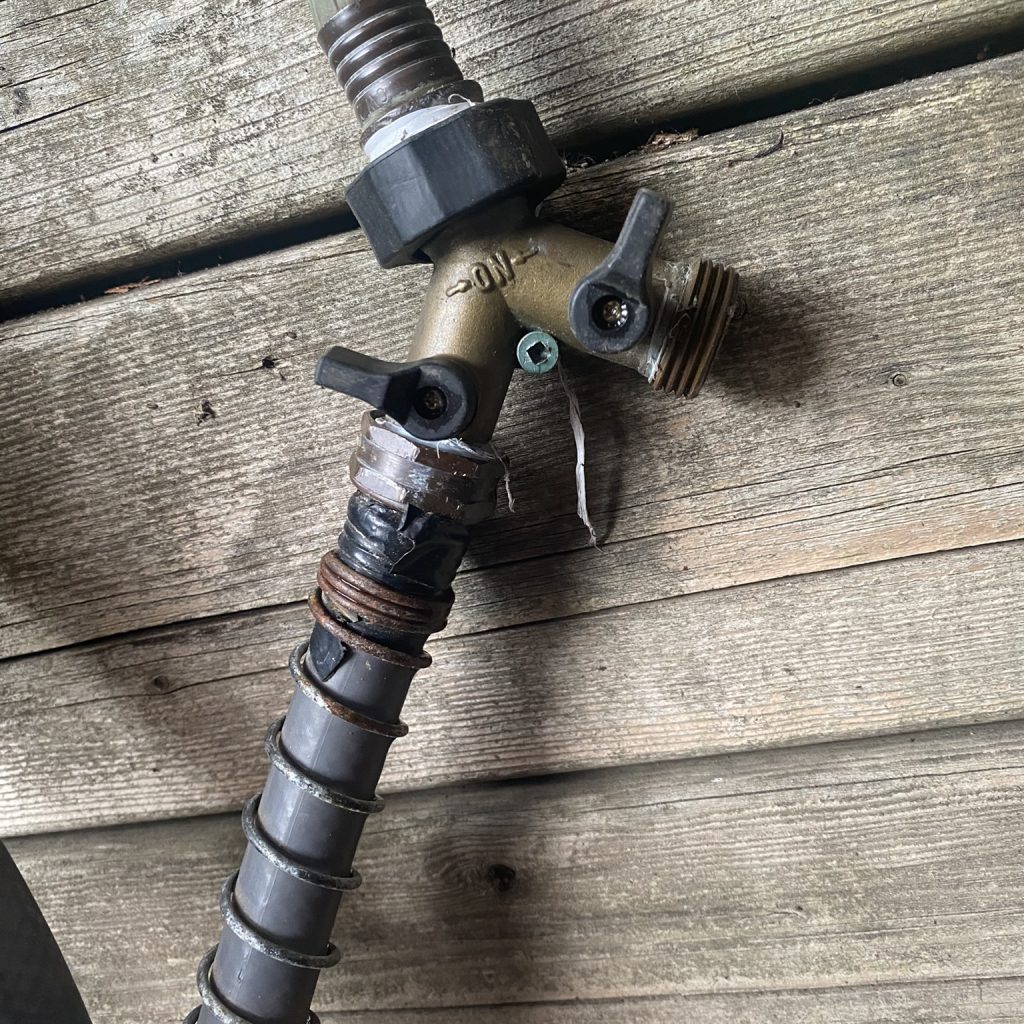
Leaky outdoor faucets are a common headache for homeowners, but fear not! With our comprehensive DIY guide, you’ll learn how to tackle those drips and save water and money in the process.
Step 1: Turn Off the Water Supply First things first, locate and shut off the water supply to the outdoor faucet. This step is crucial before diving into any repairs.
Step 2: Identify the Source of the Leak Inspect your outdoor faucet to pinpoint the source of the leak. Whether it’s a worn washer or damaged valve seat, we’ll help you diagnose the issue.
Step 3: Disassemble the Faucet Time to roll up your sleeves and disassemble the faucet to access those troublesome components. Don’t worry; it’s easier than you think!
Step 4: Replace Worn-Out Components Inspect and replace any worn or damaged parts like washers or valve seats. A quick trip to the hardware store will have you back in business.
Step 5: Reassemble the Faucet Once you’ve replaced the problematic parts, it’s time to put everything back together. Tighten those nuts and bolts for a leak-free finish.
Step 6: Turn On the Water Supply With everything reassembled, turn the water supply back on and check for leaks. If all went well, you’ll be enjoying a dry faucet and peace of mind.
Congratulations! You’ve conquered the leaky outdoor faucet dilemma like a pro. Remember, a little DIY know-how can go a long way in saving water and avoiding costly repairs. Happy fixing!


